How it works
AOS is a service which runs on your web browser.
AOS has plenty of features, but let’s begin by going
through the very basic case on how to set up and use
a 360 project.
How it works
360 images
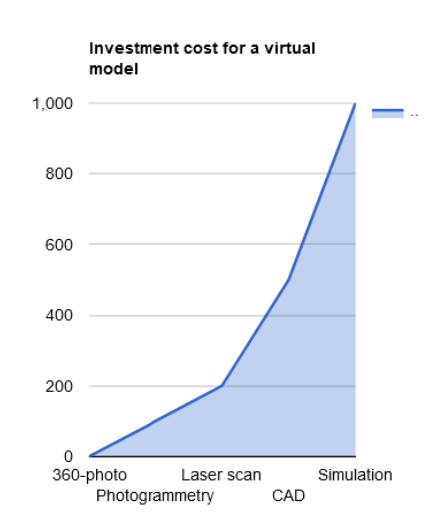
AOS models are based on 360 images. They are quick, easy and affordable to take while you already work at the project site.
The 360 model represents “as built” opposed to “as designed”. It represents the actual state of the project. The model can be updated easily while the project proceeds
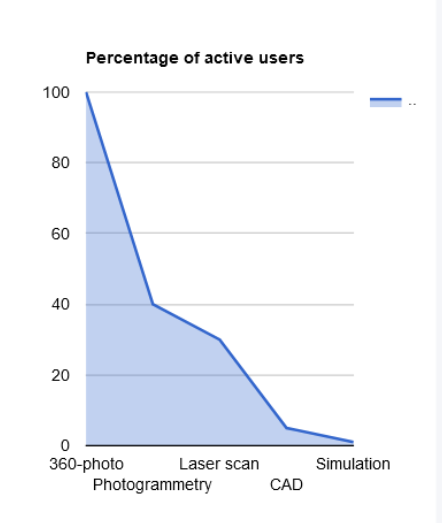
The 360 photo model may be supplemented with photogrammetry, laser scan and CAD models.
How it works
Taking the photos
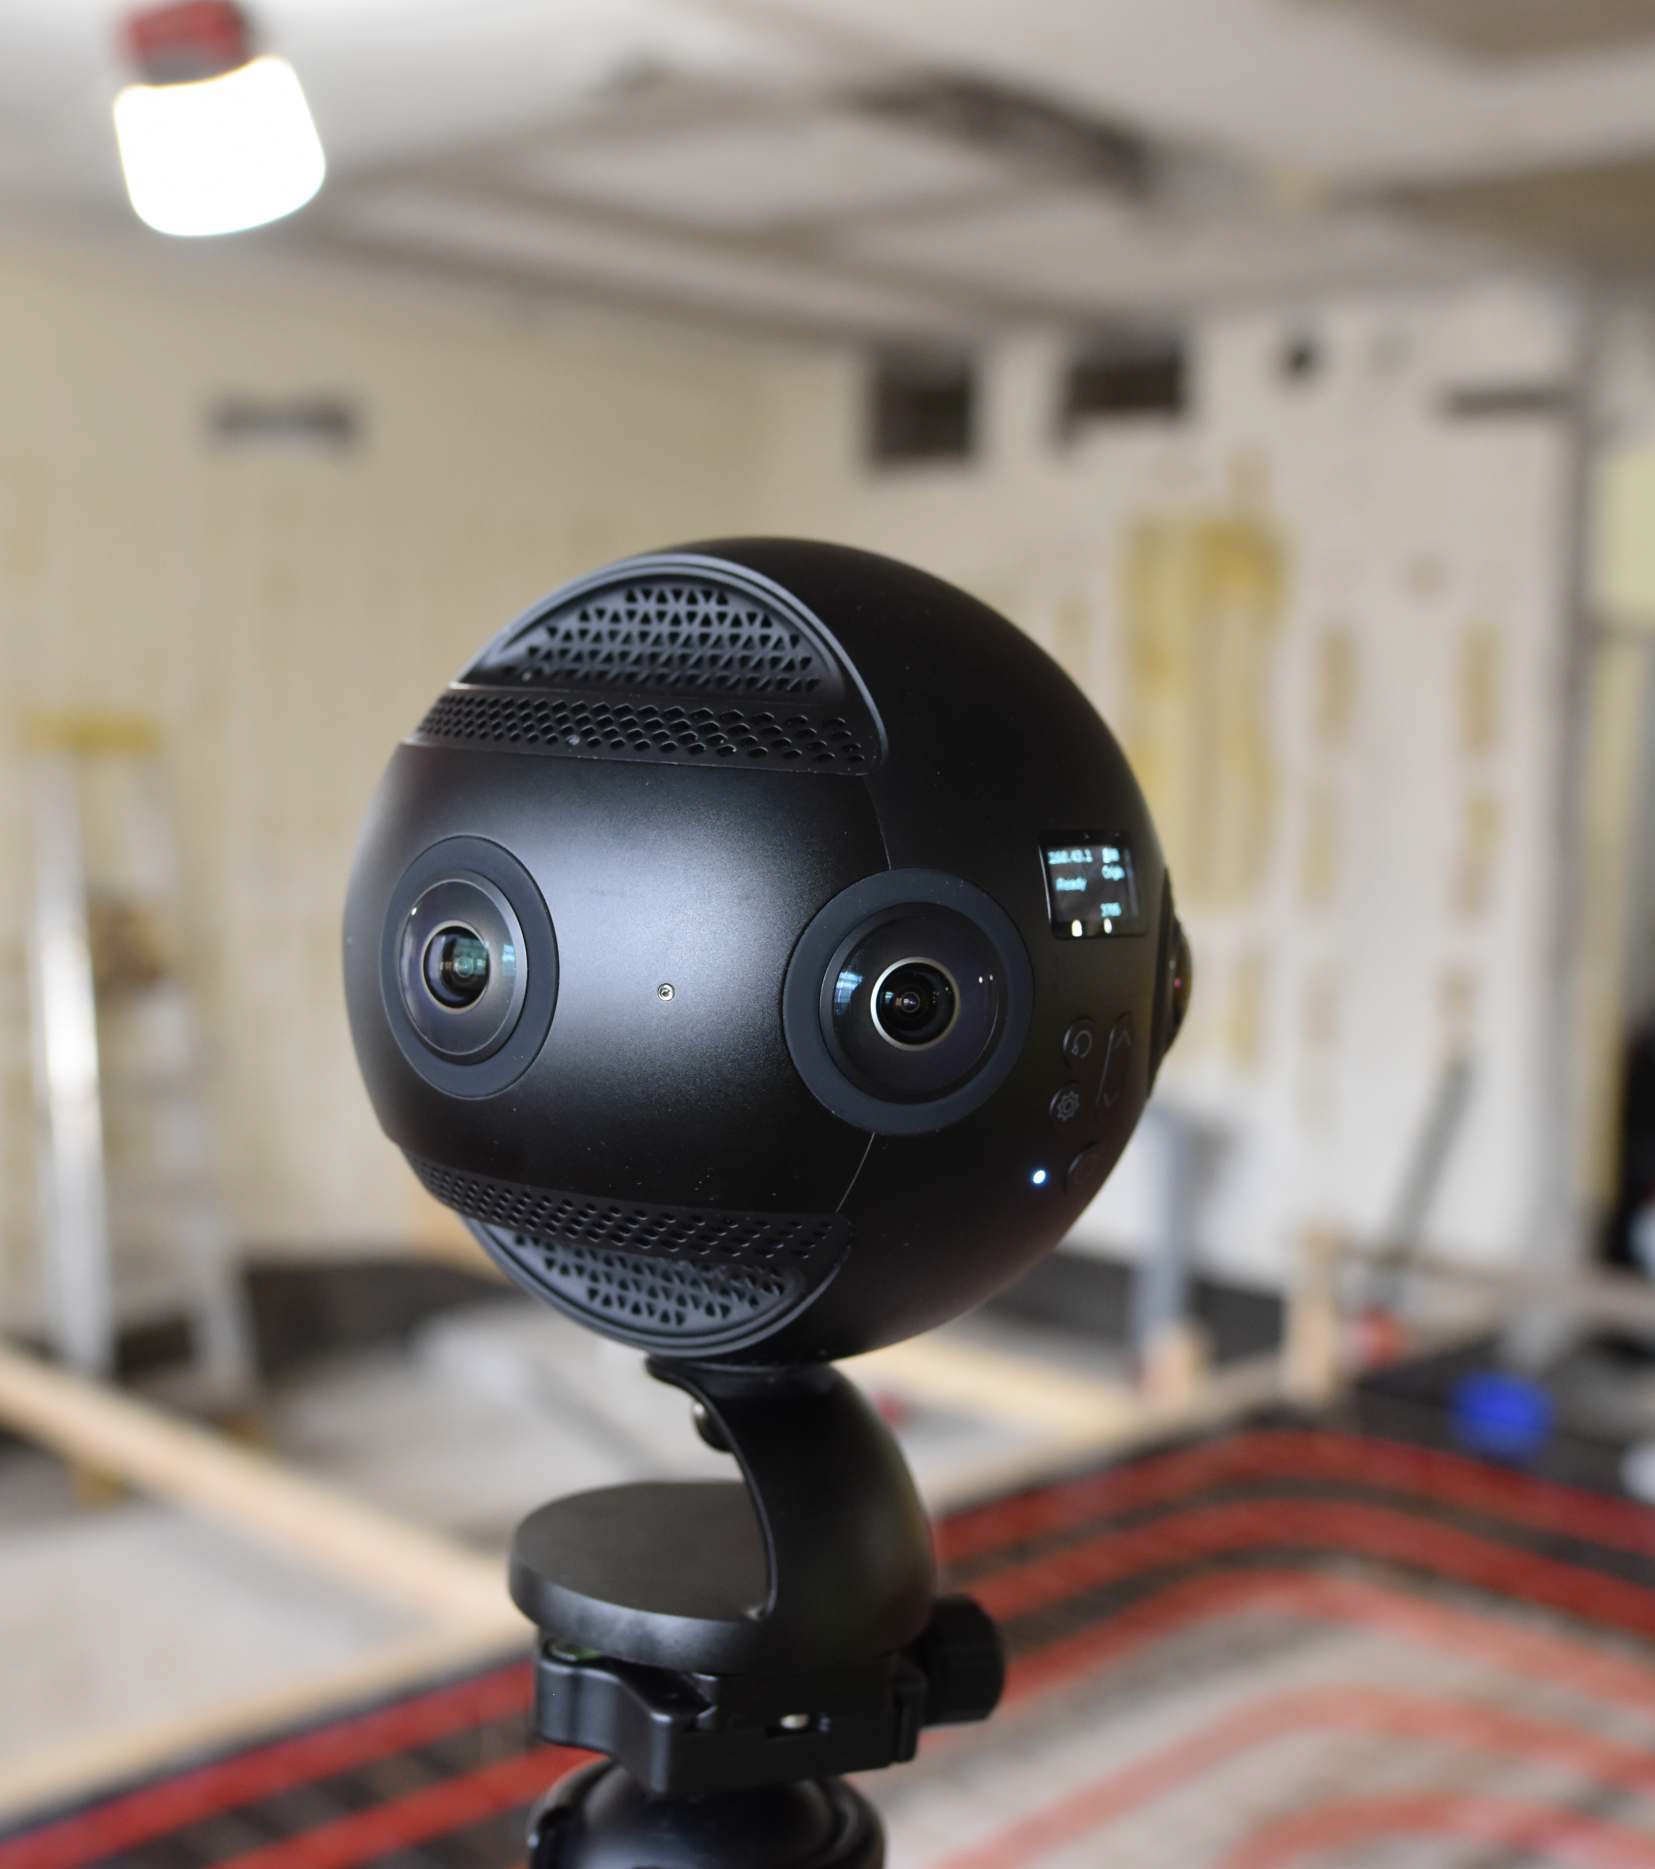
A 360 image is also known as a panoramic image which shows all directions at the same time. Taking 360 photos is by far easiest with a 360 camera.
We recommend Insta360 One R 360 or GoPro Max for most use cases. These are rugged, moderately priced and the images require no post processing. Insta360 Pro 1 or 2 is a good choice for very high end images.
-
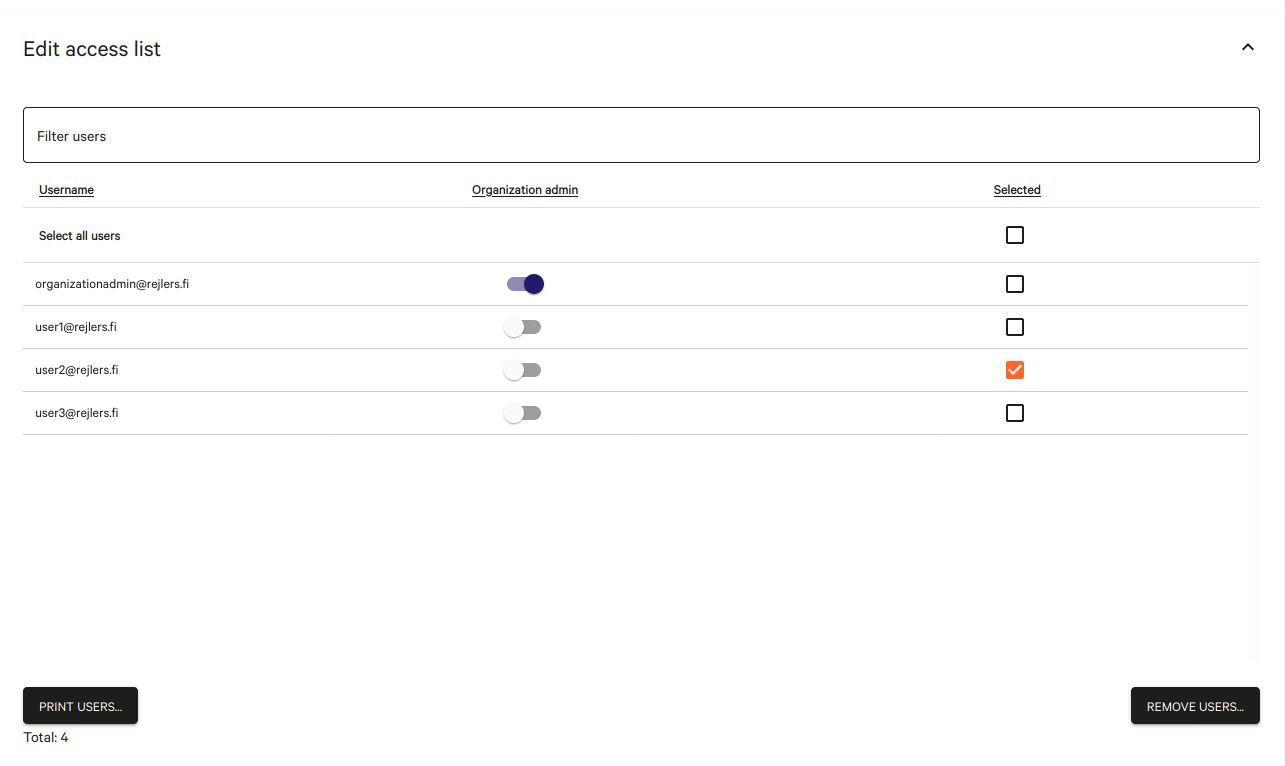
Get a license to access your own AOS organization
-
Log in to AOS Admin tool to create a 360 project
-
Add your team members to the project
How it works
Creating the model
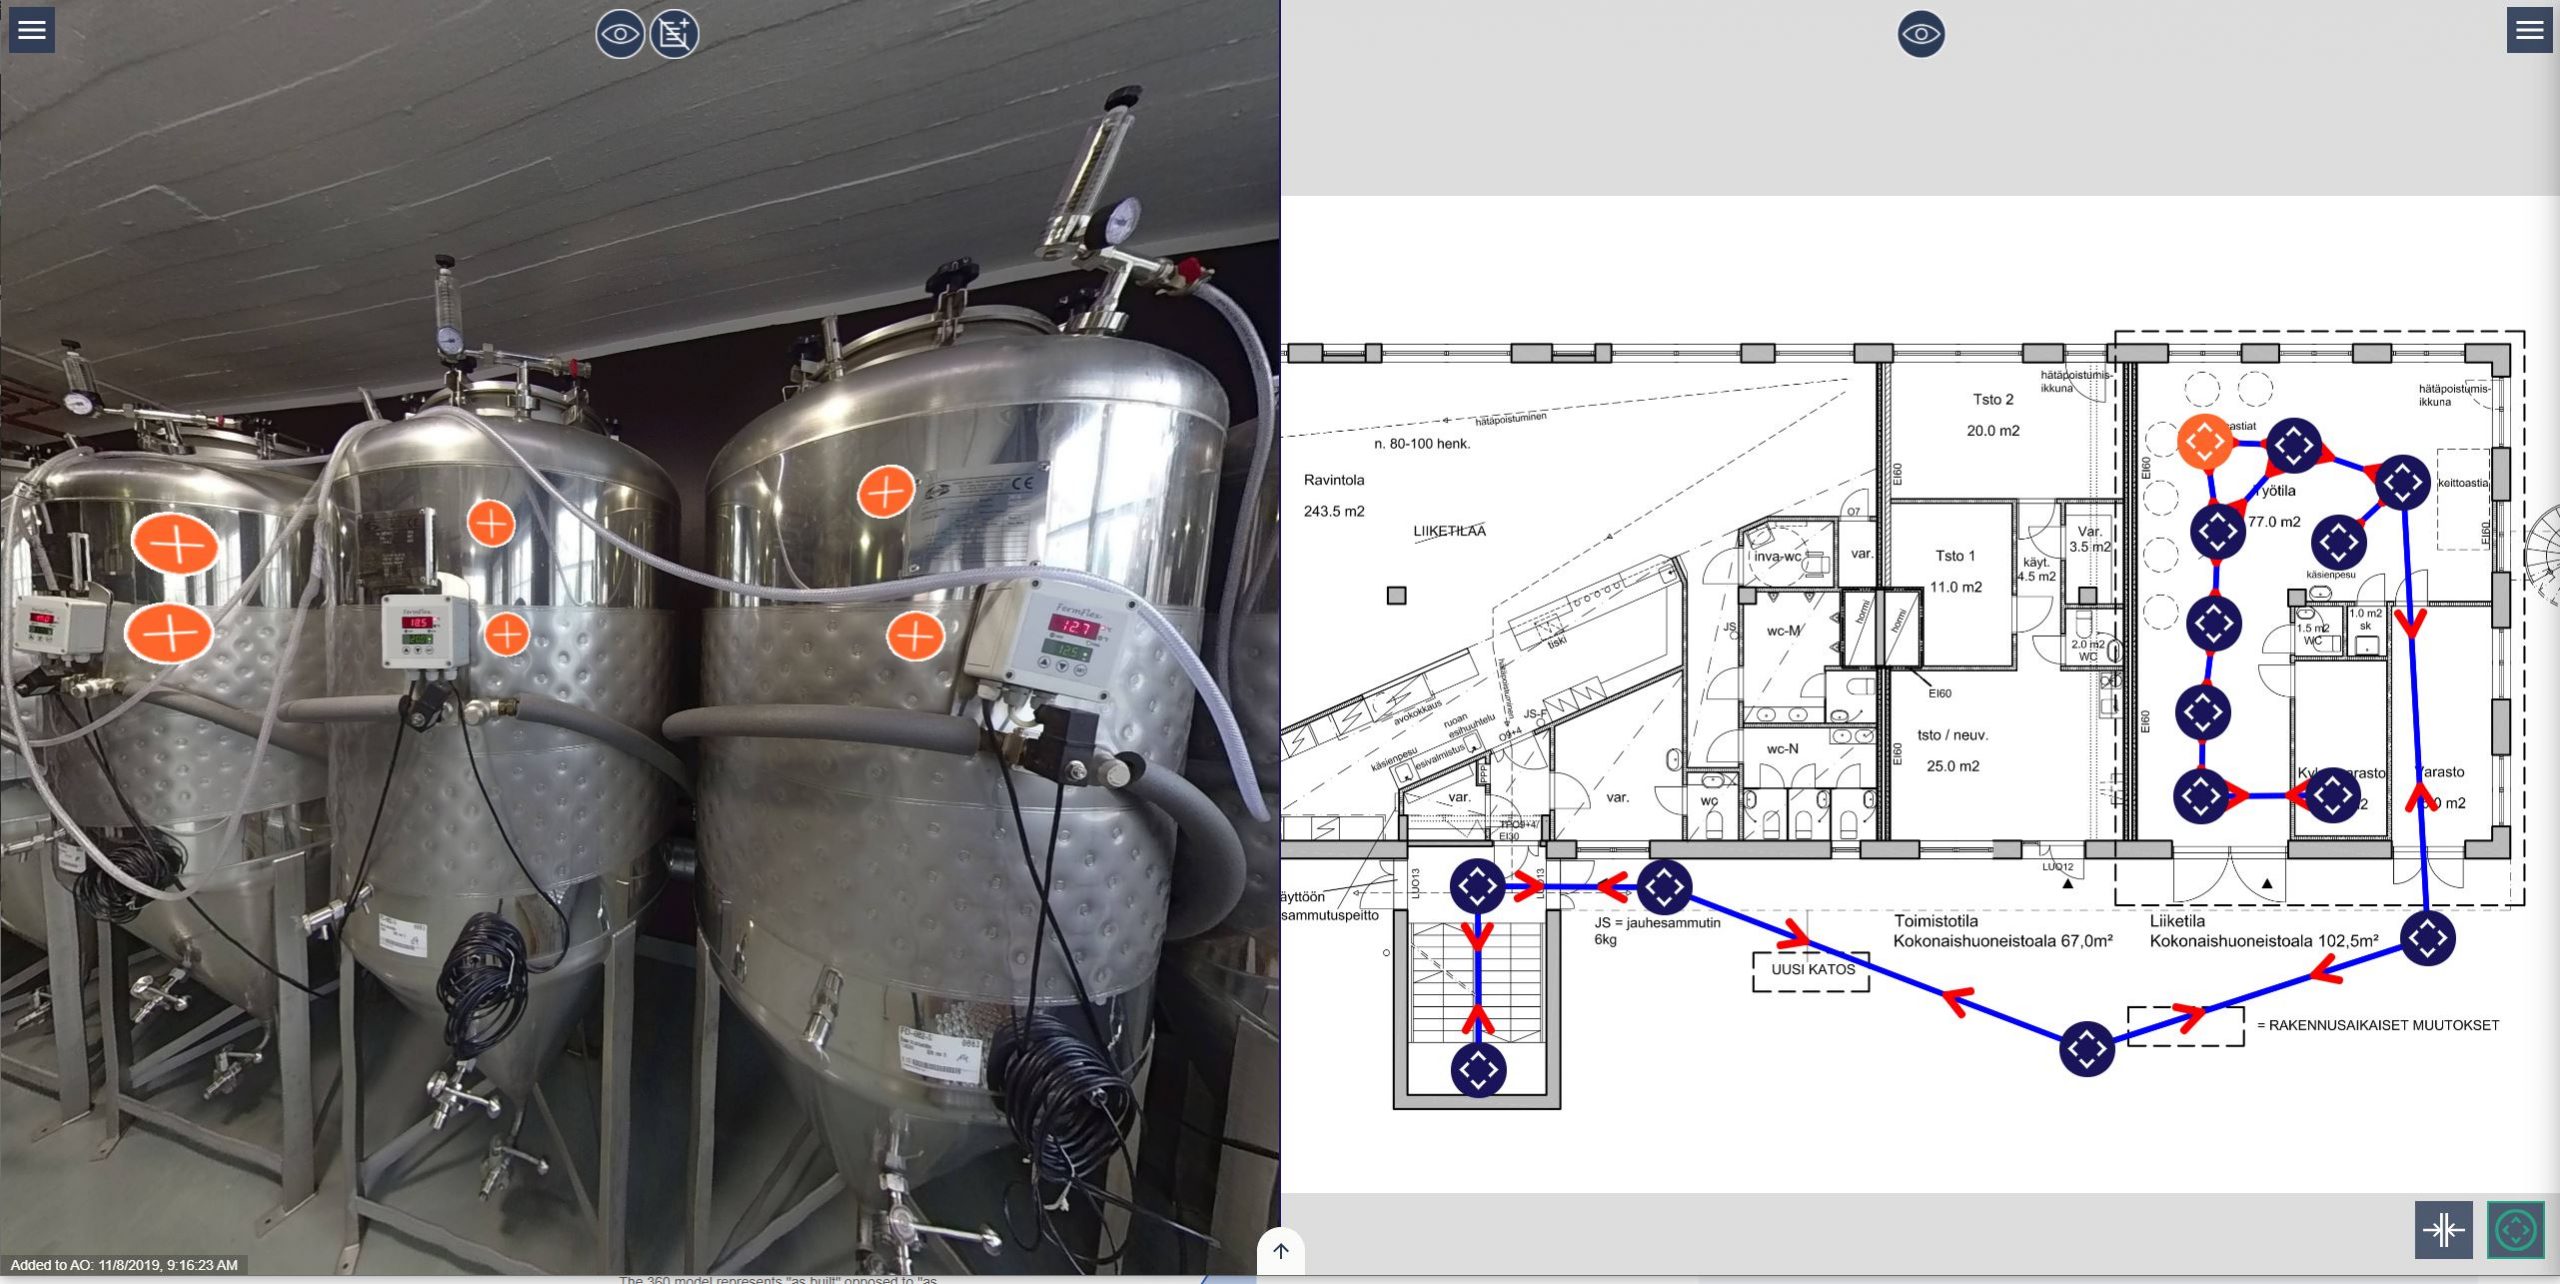
The built-in AOS editor makes it easy to create a 360 experience.
1. Place 360 images on the floor plan with the editor, or use EXIF GPS data to place them automatically
2. Optional: Add navigation arrows to images
3. Share the model to your team
How it works
Communicate with your team
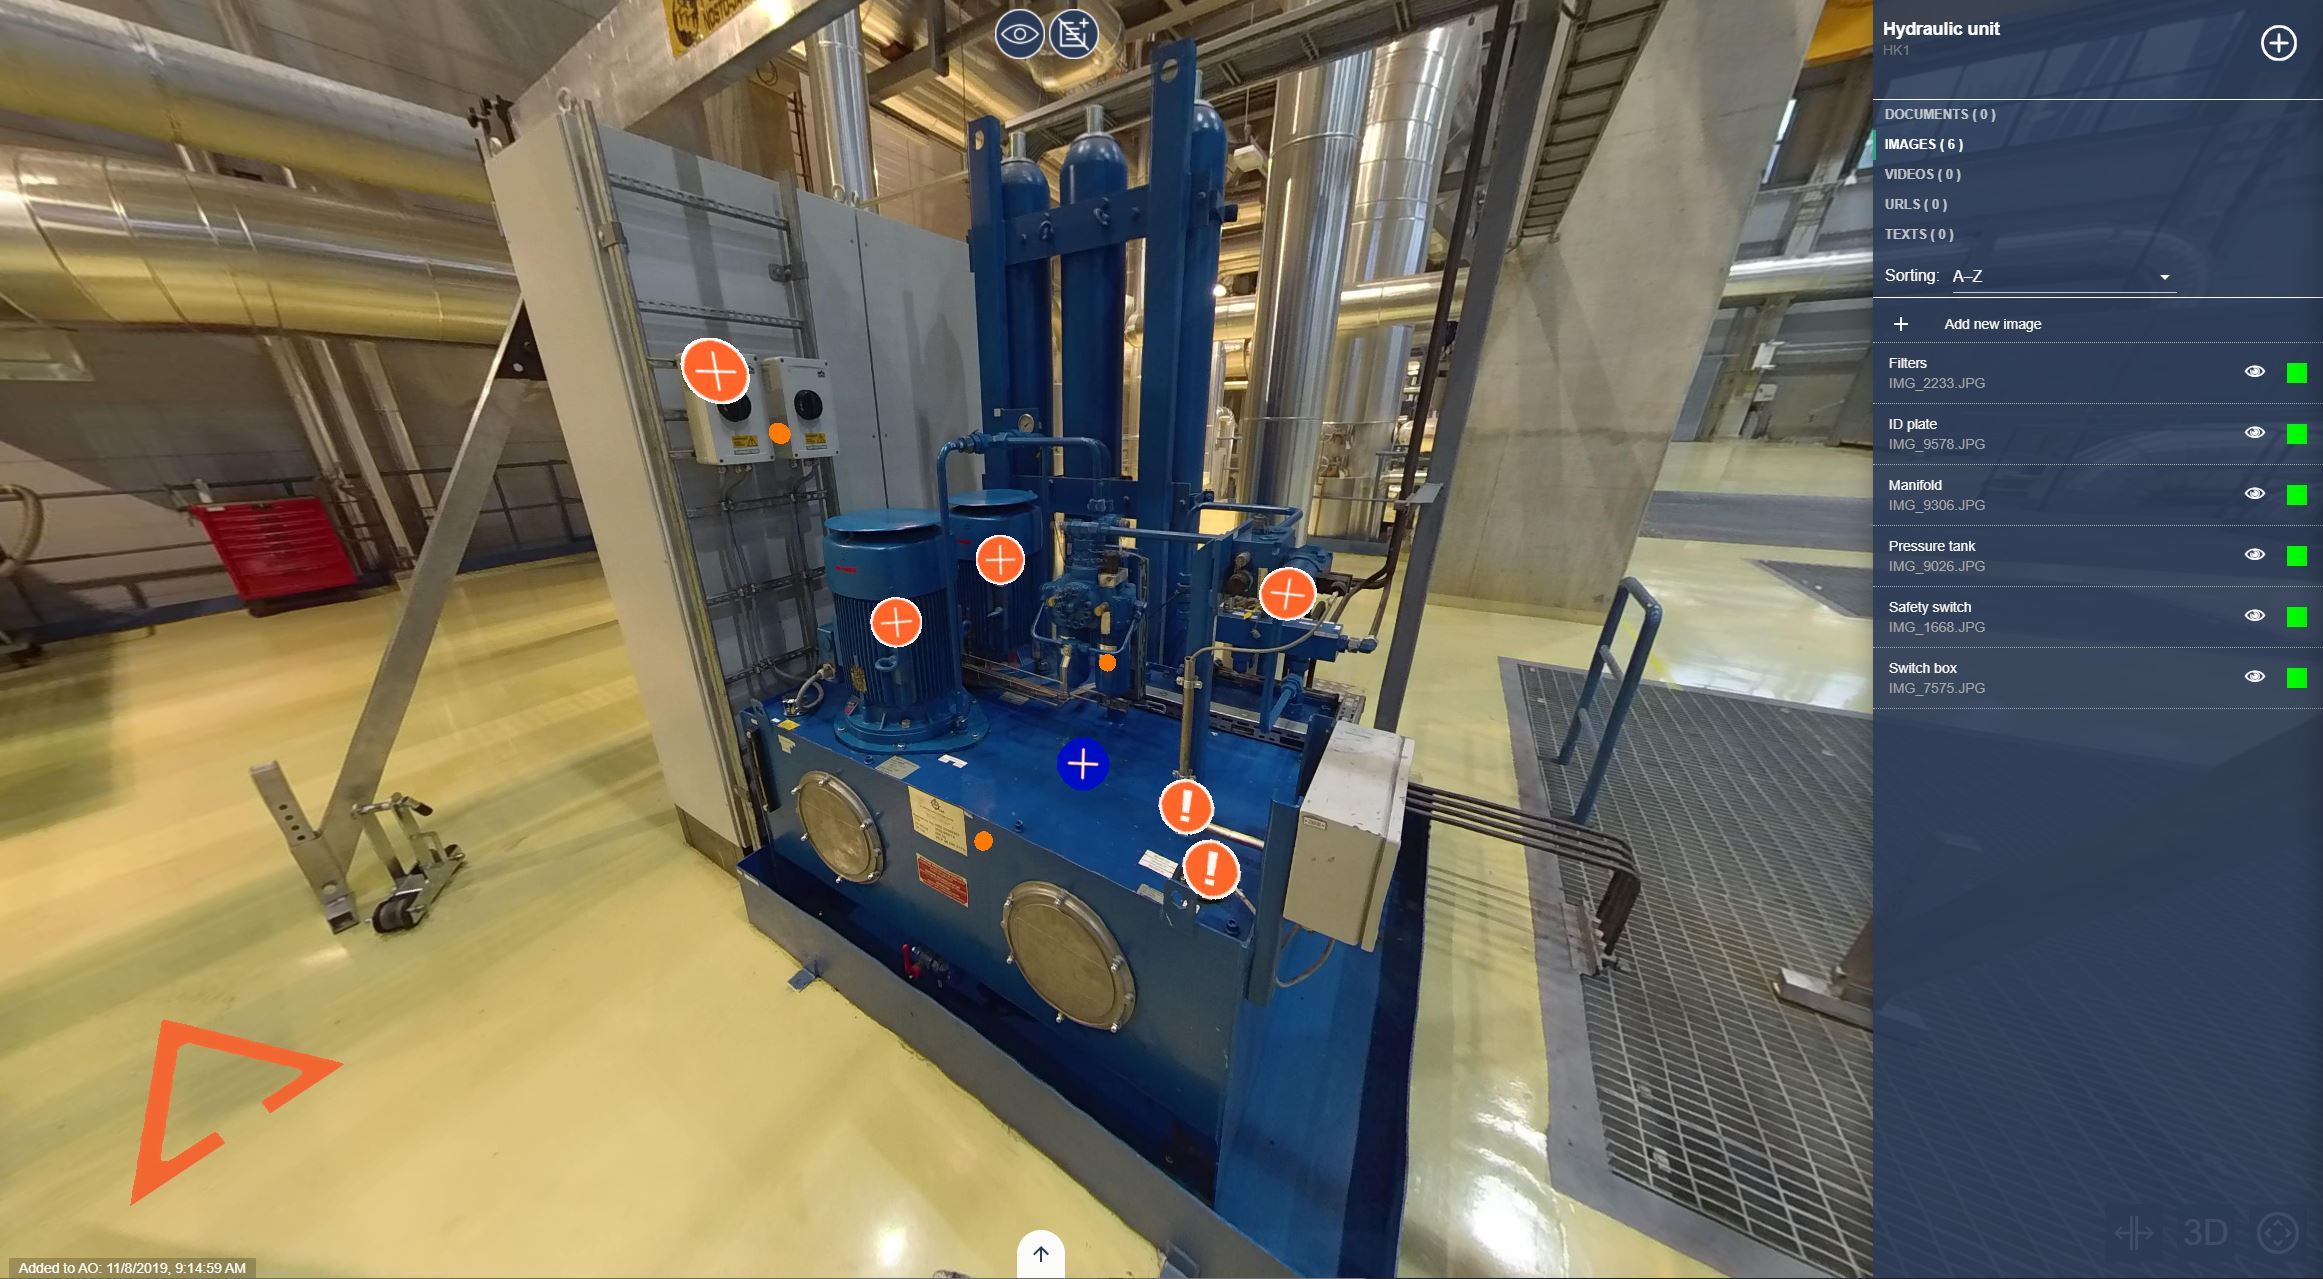
AOS is a communication portal for the entire project team. An efficient way to notify others is to create a marker which contains information on your observations.
1. Add a marker to an image or to a layout
2. Attach a file to your marker
– It can be a an image, video, pdf etc
– It can also contain a link to a website
3. Your team will be notified of your findings
How it works
Add supplementary models and data
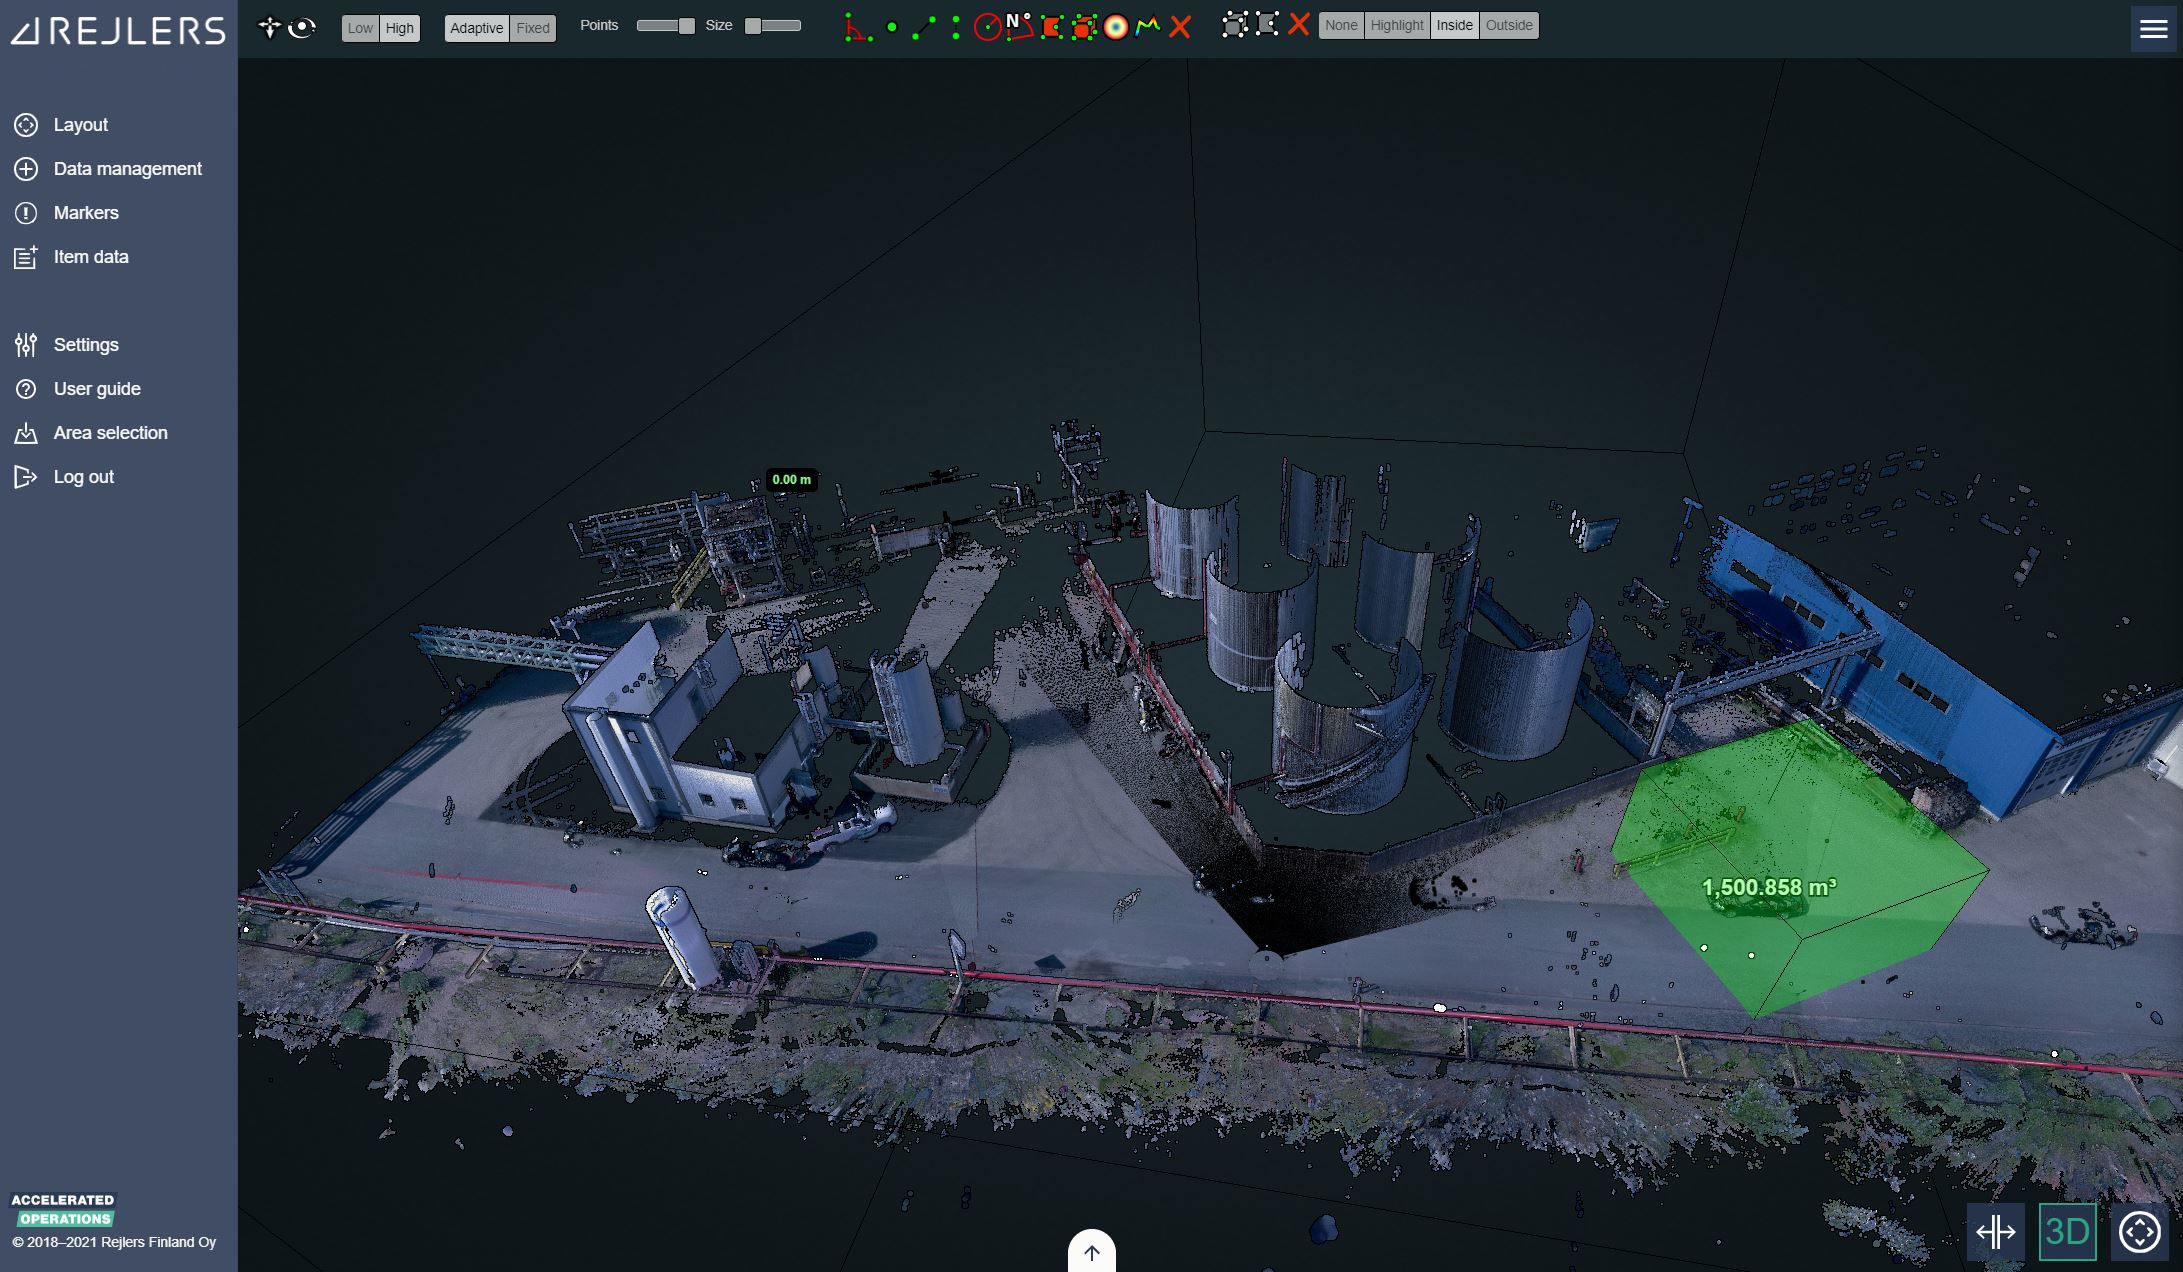
You can add pointcloud and CAD models to support your 360 model with more details for measurement.
– Add more “as built” details with pointclouds
– Compare “as built” against “as designed” with CAD models.
– Import data structures via CSV
– See how your engineering models and the existing brown-field environment comes together.
– Use point-clouds to obtain precise dimensional information e.g. for tie-in engineering.
To sum up
Build
Build your digital model with 360 images.
SHARE
Share your digital model to your team
COMMUNICATE
Use the digital model to communicate with your team
SUPPLEMENT
Supplement the digital model with images, documents, CAD models or pointclouds
PROFIT
Profit by traveling less and by minimizing errors
